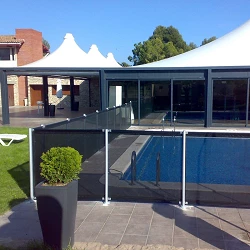
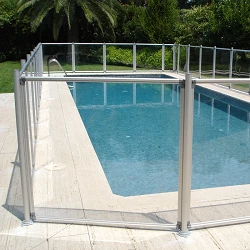
2 m pool safety fence module 16 mm black

- Security fence module.
- High-strength mesh with 1500 strands of draconium.
- Stretch of 2 metres.
- Height: 1.22 metres.
- vERY EASY TO ASSEMBLE!
- Reinforced aluminium posts.
- 16 mm posts.
- Colour: black.
- (also available in green, brown, white, sand)
- Warranty: 5 years.
Technical characteristics
THE MODULE INCLUDES:
- 3 aluminium poles.
- 2 metres of PVC tarpaulin.
- 3 plugs + 3 plugs.
- 1 safety latch.
OTHER COLOURS AVAILABLE: green, brown, white and sand. If you want any of the following colours, please indicate it in the comments when ordering or call us.
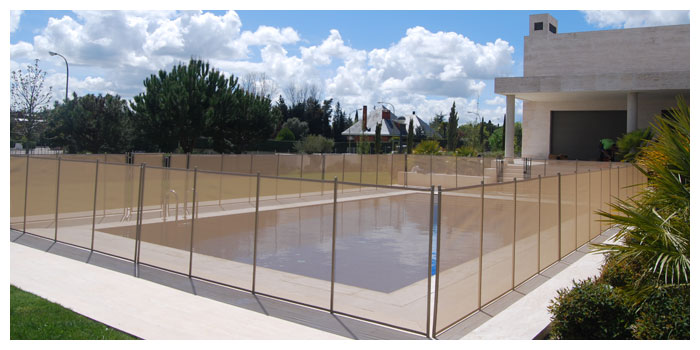
MESH
- GREAT DURABILITY thanks to the triple stitched edge design and mesh in aircraft fabric.
- Heavy duty mesh with 1500 strands of draconium, supporting over 3.5 tonnes per metre.
- Maintenance free.
POLES
- Aluminium posts reinforced with honeycomb, guaranteeing maximum resistance up to 150 kg of impact.
- Anti-impact and anti-shock rubber end caps at the end of the post.
- Insulating ground plugs and custom-made caps to protect them when the fence is removed.
- Partially or fully removable fence easily.
- Posts anchored by means of 16 mm anchor plugs.
- Baked-on paint (4000 hours) and bluing in special colours.
- Metal finishes, polished and painted.
Any swimming pool, however small or shallow it may seem, can be a serious danger for children or pets.
We must be constantly vigilant. In addition to vigilance, it is important to have some method of security that prevents them from approaching the edge of the pool.
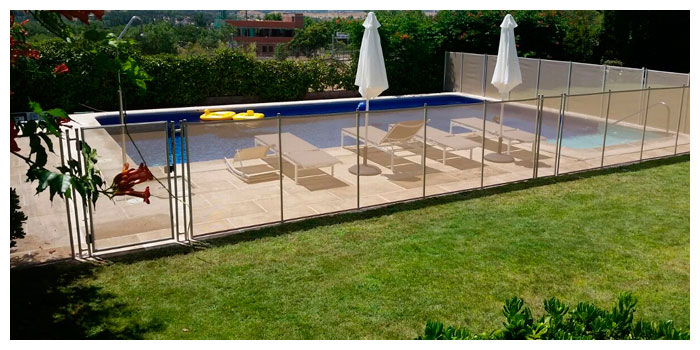
INSTALLATION OF SAFETY FENCING
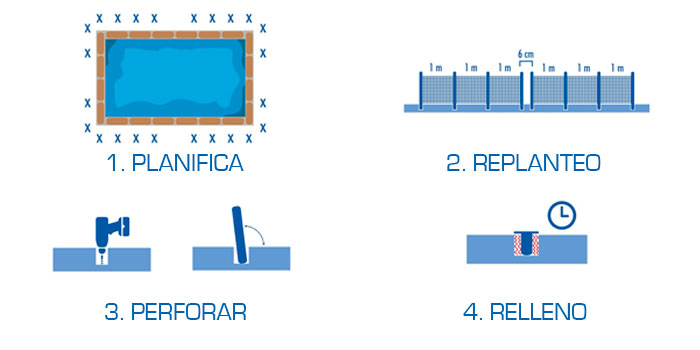
1. PLAN. Plan your installation, measure and mark the layout on the ground where you are going to place the fence, marking the location of each post with an X.2. Leave a distance of 1 metre between the posts of the same section and 6 centimetres between the last post of one section and the first post of the next (all measurements take the centre of the post as a reference).
To install an angle it is necessary that the end of the section and the beginning of another coincide, so in each corner we will always have 2 posts.
3.DRILLING. Once you have everything ready, start drilling. Slightly tilt the posts at the ends of each section outwards to get a perfect tension.
4.FILLING. Fill each hole with resin or chemical dowel, place the plastic dowels and let them dry.
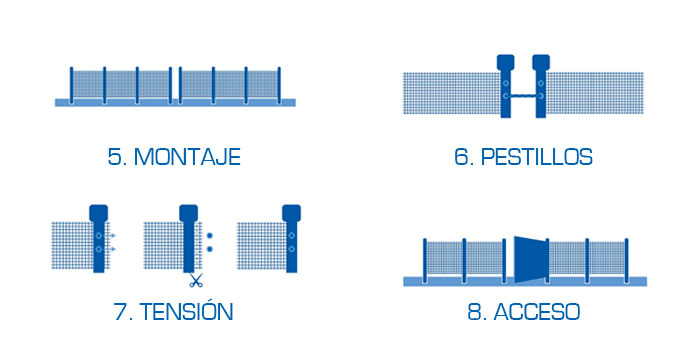
5. ASSEMBLY. Assemble the fence section by section making sure everything fits together correctly.
6. LATCHES. Place the safety latches to join the sections together using the hole left by the second screw at the top.
7. TENSION. If necessary, adjust the tension of the fence by correcting the length of the mesh in each section:
Remove the screws holding the post bracket and remove it.
Cut the excess mesh, make a bend in the end and screw the bracket back on.
8. ACCESS. Facilitate entry by installing a safety gate or access the pool through a meeting point between two sections: bring the two posts together and open the safety latch.
CERTIFICATES
Manufactured in accordance with French standard NFP 90-306.
Complies with the Technical Building Code DB-SUA.
Might Also like
